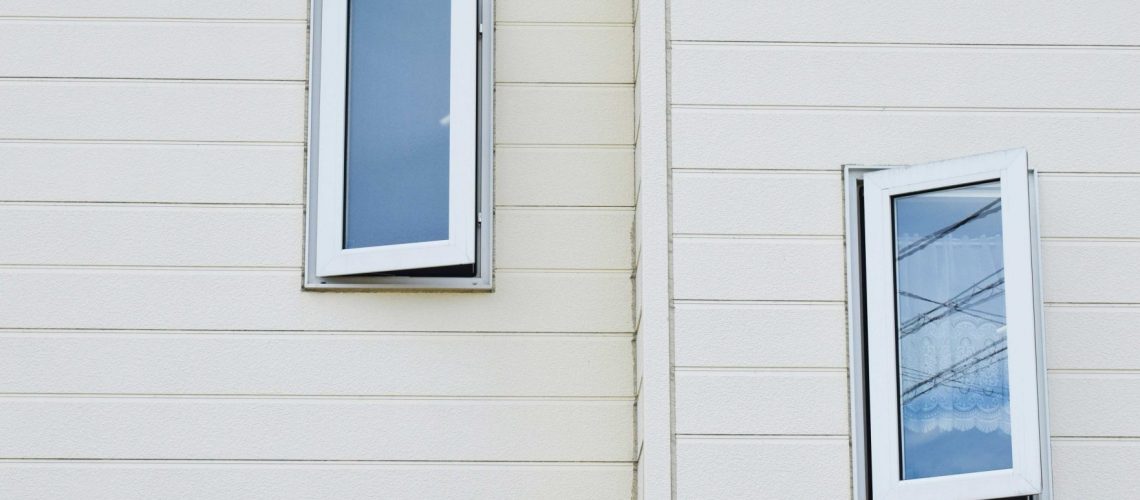
Vinyl siding looks great and is a long-lasting material for the outside of your home. Keep it lasting even longer with these tips on how to deal with common problems, DIY repairs, and cleaning tips!
Common Problems
Warping – vinyl siding may not peel or chip but it is possible for it to warp if exposed to extremely hot temperatures for extended amounts of time with no shade.
Cracking – just as hot weather can affect vinyl, cold can too. Freezing temps can make the vinyl brittle and cause some cracking issues.
DIY Repairs
For minor holes, cracks, and replacement needs, you can often fix these issues yourself with some caulk and tools you have around the house.
Holes and cracks – clean and dry the area, prep your caulk gun (buy caulk that’s a close color match to the siding), and get to caulking! It’s best to overfill holes and cracks with caulk to properly seal from water damage. When you’re done, allow it to dry for at least 24 hours and then scrape away any excess caulk from the area.
Replacing Siding – It’s quite simple to replace one or two panels, just make sure you have the replacement parts before you start your project! We found these helpful steps at Budget Dumpster:
1. Separate the Panels
Holding the zip tool with the bend facing upward, place the hook under the panel that is above the one you want to remove. While keeping the handle lifted, slide the zip tool horizontally along the panel to separate the two connected panels.
2. Remove Any Fasteners
Next, remove the nails or screws that hold the panel to the sheathing. Expose the fasteners that hold the panel you are removing by lifting the bottom edge of the upper panel. Use a pry bar or claw hammer to remove any nails and a drill to remove screws.
3. Prepare Your Replacement Vinyl
Cut the replacement vinyl piece to the necessary length using a utility knife or saw. Lift the new panel into place by pushing on the bottom edge to make sure it hooks onto the lower piece. The top of the panel should fit underneath the siding above it.
4. Fasten the New Panel
Similar to when you removed the damaged panel, lift the bottom edge of the upper panel to expose the nailing track. Fasten the panel with nails or screws, but be sure to leave space for the vinyl to expand and contract as the seasons change. Use tape or an extra hand to help hold the panel in place as you fasten it.
5. Secure the Panels Together
Finally, use the zip tool to secure the bottom tab of the replacement panel to the adjacent piece. Slide the zip tool along the tab and push the panel against the new one as you go. This will ensure both panels lock together. Once that’s finished, step back and admire your hard work.
Cleaning and Upkeep
Make your house sparkle like new with a good once-over with the hose. For tougher cleaning jobs, break out the power washer but make sure you read up on the settings for the pressure washer… the last thing you need is to damage the siding! If you are planning to do any work around the outside of the house with cement, staining, or other chemicals, make sure your siding is covered and protected.

